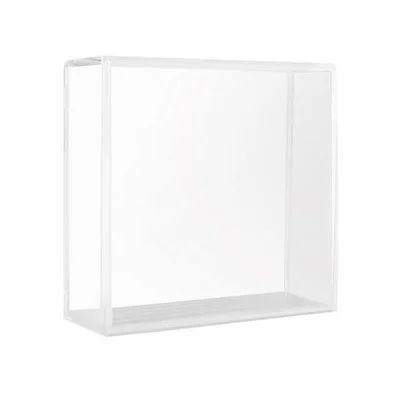
Puck Stand™ Assembly Guide
Important things to remember during Puck Stand™ assembly are:
Assemble on a hard, flat surface (table or floor).
Ensure you choose the nicest surface of the stand face and place it face down. This will ensure that the best surface will be displayed facing out after your Puck Stand™ is fully assembled.
Use firm, even, downward pressure when installing the support tabs into the back of the stand face.
Puck Stand™ Step-By-Step Assembly Guide
STEP 1
Choose the nicest surface of the stand FACE and place it face down on a hard surface.
STEP 2
Align the tabs of the SUPPORT with the slots on the backside of the FACE.
STEP 3
Use firm, even, downward pressure to seat the the SUPPORT tabs into the back of the FACE.
STEP 4
The SUPPORT should now be firmly inserted and flush with the back of the FACE with no gap showing.
STEP 5
DONE! Your Puck Stand™ is now ready to display your favorite hockey puck!
Optional Application of Glue
You can apply glue (Super Glue or wood glue) along both sides of the joint edges for additional support and longevity.
Related products you may also like…


